Creating website by GitHub Pages
This article is about a way to publish a Website Using GitHub Pages.

What is GitHub Pages?
GitHub Pages is a service that automatically publishes static websites from GitHub repositories.
You can build a website using files written in HTML or Markdown.
For instructions on creating a site using Jekyll, please refer to this article.
Workflow to Create a Website
- Create a GitHub account
- Create a GitHub repository
- Configure repository settings
- Check if the site is published
- Visit your site
1. Create a GitHub Account
If you don’t have a GitHub account, create one by following the steps below:

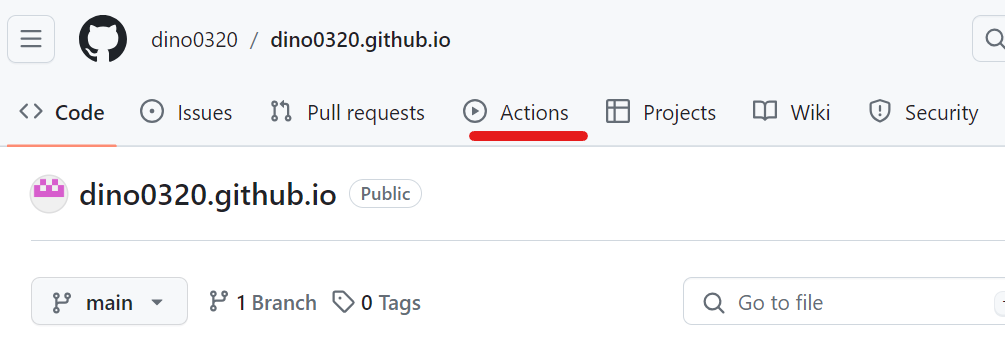
2. Create a GitHub Repository
- After signing in, go to the new repository page.
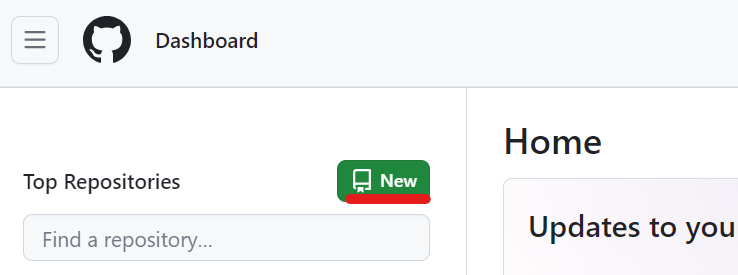
-
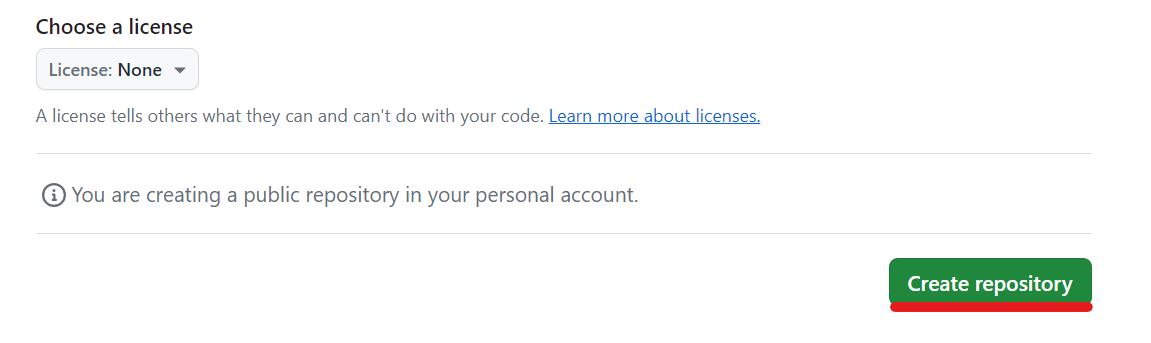
Configure the following settings:
Item Description Owner Choose your GitHub account. Repository name Set the name as yourusername.github.io(all lowercase).Description Optional description for the repository. Repository visibility Choose “Public” (required for free accounts). Add a README file Check this option to add a README.md. This file, along withindex.htmlorindex.md, can serve as the homepage. - Click Create repository.
3. Configure Repository Settings
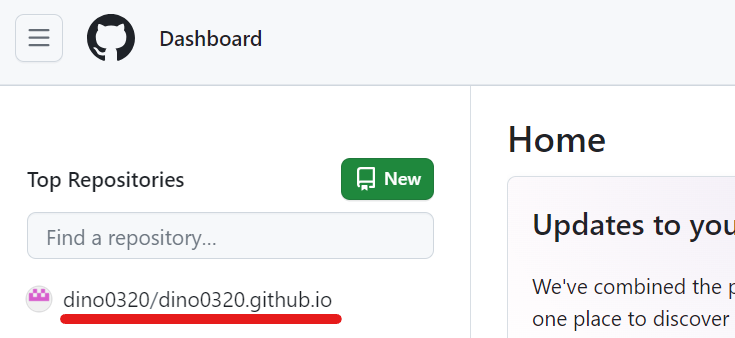
- Go to the repository you created.
- Click Settings from the top menu.
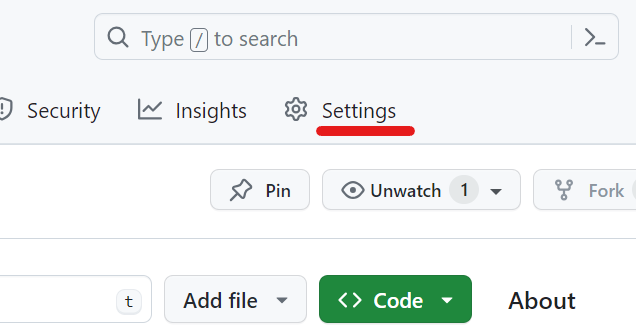
- In the left sidebar, click Pages.

-
Under Build and deployment, set the following:
Item Description Source Select “Deploy from a branch”. Branch Choose the mainbranch and root folder/. - Click Save.
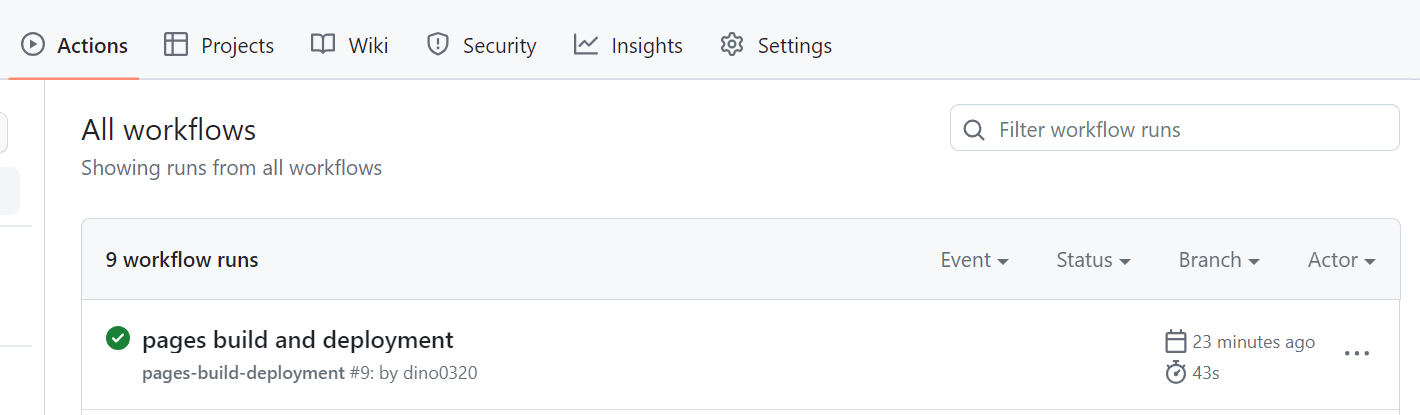
4. Check if the Site is Published
- Open the Actions tab in your repository.
- If a green check mark appears next to an action, the deployment has completed successfully.
5. Visit Your Site
- In the repository, go to Settings → Pages.
- Click the Visit site button.
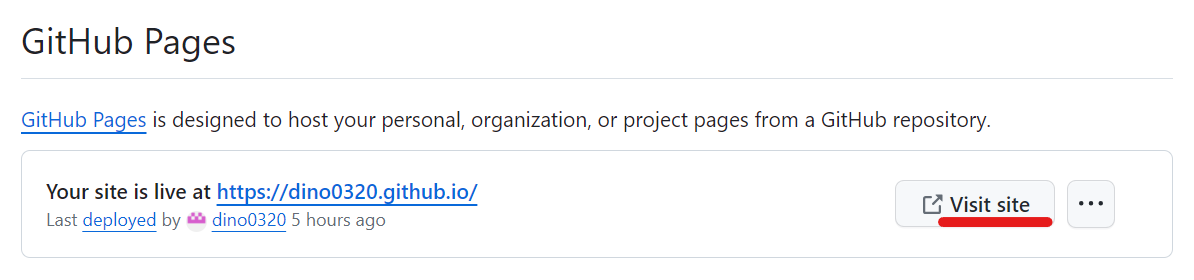
Your homepage (e.g.,README.md) should now be visible.